Setting up and testing AMP for WordPress: A quick 7-step guide
Looking to get started with Accelerated Mobile Pages (AMP)? Columnist Stephanie LeVonne has put together this handy guide for WordPress users.

In today’s mobile-centric world, having pages that load quickly is essential for satisfying the user. Not only that, but the effects of slow page speed have been correlated to a decease in overall revenue and an increase in page abandonment.
Users have come to expect mobile sites to load just as quickly as their desktop counterparts. In fact, Amazon, one of the largest online retailers, concluded that even a one-second lag in page load speed accounted for a $1.6B decrease in annual revenue.
Accelerated mobile pages (AMPs) are quickly becoming the standard for how a fast-loading page should be built. Using a pre-render, AMPs are able to load 15-80 percent faster than standard mobile pages without compromising functionality. While the ease of AMP implementation will vary depending on your CMS (content management system), WordPress can be a good test environment for previewing what your AMP page might look like.
Follow this quick seven-step guide to enable AMP for WordPress.
Note: Parts of this guide assume that you have activated the Yoast SEO plugin as part of your WordPress setup. If you haven’t, you can simply skip the parts that reference this plugin — you can still activate AMP functionality without it — but I highly recommend this plugin if you are serious about SEO for your WordPress site.
Step 1: Install and activate your AMP plugin(s)
The AMP plugin by Automattic is required to begin AMP implementation. This is the base plugin that you’ll need in order for AMP to work.

The AMP plugin will automatically generate AMP-compatible versions of all your posts, which you can view by appending /amp/ to the end of your post URLs. For example:
- Original URL: https://searchengineland.com/bing-audience-targeting-in-market-custom-audiences-277080/
- AMP URL: https://searchengineland.com/bing-audience-targeting-in-market-custom-audiences-277080/amp/
Note that only your posts — not your pages — will be AMP-compatible with this base plugin. In order to make your pages AMP-compatible as well, you’ll need to install an additional plugin (detailed below).
Once you have the AMP plugin installed, you can layer on additional plugins in order to gain greater functionality. There are several free options you can choose from, but the ones I use throughout this guide are as follows:
- AMP for WP — Accelerated Mobile Pages — Notable features of this plugin include Google AdSense integration, rel=canonical tag support, an AMP drag-and-drop page builder and the ability to create AMP content that differs from the content on standard mobile pages.

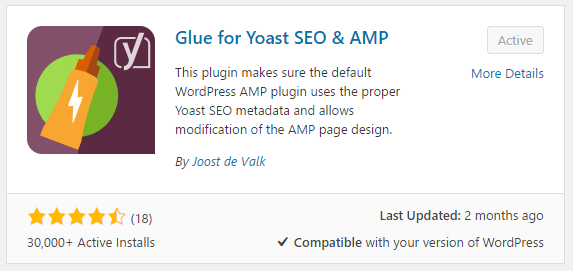
- Glue for Yoast SEO & AMP — One of the benefits to using this plugin is that it allows you to make pages, posts and media AMP-compatible. The Glue for Yoast plugin also seamlessly ensures that the default AMP plugin is pulling in the correct metadata. Similar to the AMP for WP plugin, it allows for custom styling of AMP pages, and you can even select a custom icon and change how your website’s logo looks on the AMP page. (Note: You must have the Yoast SEO plugin installed and activated in order for this to plugin to work.)
Step 2: Set up Google Analytics
In order to set your pages up for Google Analytics tracking, you’ll first need to find your tracking ID. Log in to Google Analytics, then click the gear icon at the bottom left to bring up the Admin panel. Once you’ve selected the ACCOUNT and PROPERTY from their respective drop-down menus, click where is says “Tracking Info” within the PROPERTY column. From there, click “Tracking Code” to see your tracking ID — the ID should begin with UA.
Copy your tracking ID, then log in to WordPress. In the left-hand navigation, go to AMP > Analytics and paste your tracking ID where it says “Google Analytics.” Then click Save Changes.

Step 3: Configure plugin settings
In this step, I’ll discuss some basic configurations for the Glue for Yoast SEO plugin mentioned in Step 1. You may skip this step if you have chosen not to install this plugin.
The recommended configurations herein will allow you to customize the look and feel of your accelerated mobile pages as well as enable AMP support for multiple content types.
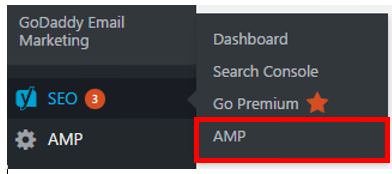
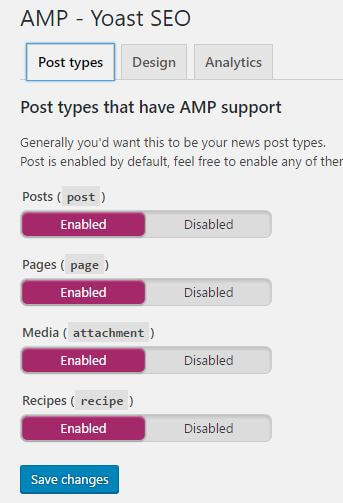
To begin, go to Yoast SEO > AMP > Post Types. Here you are able to select which post types should be AMP-compliant.
On the second tab, “Design,” you can customize the look and feel of your AMP-enabled pages. Apply CSS styling, customize content and link colors, upload a custom AMP icon and set a default image for pages that don’t have an image associated with them.
Step 4: Test/validate your AMP setup
Now that we have created our AMP URLs, it’s important to ensure that they’re working properly. If they are not configured correctly, Google will not display them in search results. While this safeguards you against displaying a semi-functional AMP page, it can also be a pain point for many webmasters.
Fortunately, there are several solutions for testing your AMP URLs. Pick a couple of key pages and test the AMP versions using one of the methods below. As mentioned in step 1, you can append /amp/ to the end of a standard URL in order to view it.
Option 1: AMP Test
- Go to https://search.google.com/test/amp
- Drop your URL in here and click “Run Test,” then note the outcome (valid/invalid).

Option 2: Developer Console
This option is specifically for those who use the Google Chrome browser. If you use another browser (Firefox, Safari, Microsoft Edge or other), this option does not apply to you.
- Open the AMP page in your browser
- Append #development=1 to the URL
- Open Chrome Dev Tools Console (in the Chrome Menu, select More tools > Development tools, and then click the “Console” tab) and check for validation errors.
- If everything is good, validation should be successful.

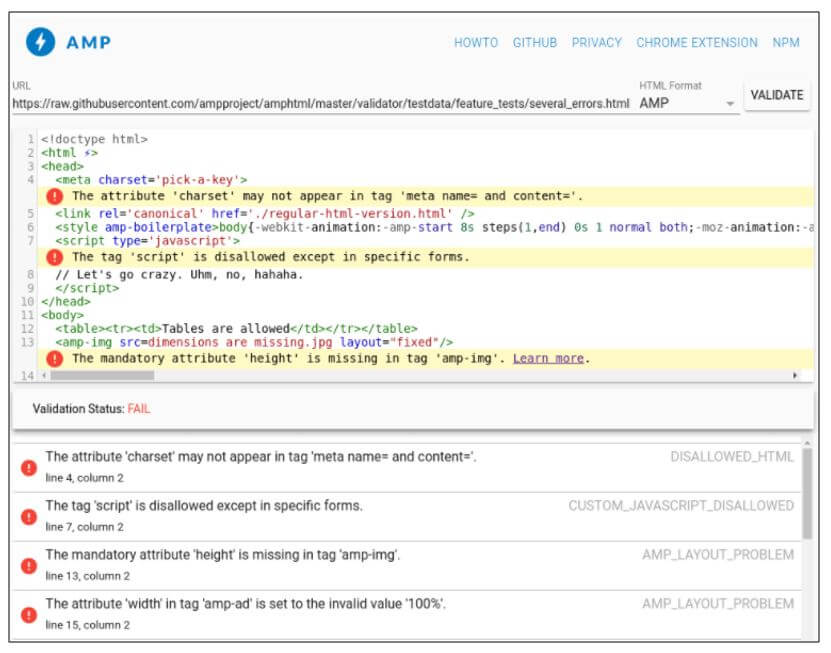
Option 3: AMP Validator
- Go to https://validator.ampproject.org/
- Paste the AMP URL in the “URL” field and click “Validate.”
- This tool will highlight any errors and flag them in the HTML.
Note: You can also use the AMP Validator Chrome extension to see the same results on the AMP URL itself.
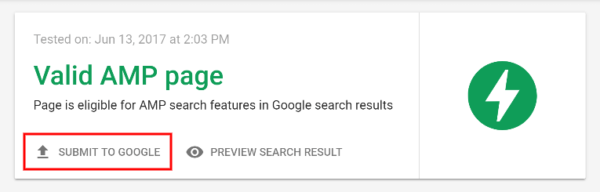
Step 5: Submit your most important AMP URLs for indexation
If using the AMP Test through Google Search Console, you can click the “submit to Google” button once you’ve run the test and validated the page:
Alternatively, if you are logged in to your Google Search Console account, you can search for “submit to Google” and submit the URL directly within Google search results:

While submitting your AMP page to Google is not a requirement, Google will only index your AMP page if it is internally linked to or listed in the XML sitemap.
Step 6: View in Google Search Console to troubleshoot for errors
Google Search Console provides a way to manage all your AMP pages in one concise location.
- Log in to Google Search Console.
- Under Search Appearance, click Accelerated Mobile Pages.


Here you will be able to see how many of your Accelerated Mobile Pages are being indexed and which ones, if any, have critical issues. If you identify pages with issues, you can troubleshoot shoot them using the tools from the previous step.
Step 7: Test page speed
Once you’ve completed the above, now it’s time to see the benefits of your efforts. Run your AMP and standard mobile pages through a page speed tool like WebPageTest and compare the results:

Get started with AMP!
As Google ramps up its efforts to unveil its mobile-first index and page speed inches towards becoming a mobile ranking factor, it’s ever more crucial to take advantage of AMP before your mobile traffic takes a hit. By following the steps above, you should be able to quickly and easily enable AMP pages for your WordPress site.
For the latest updates and developments on the Google AMP Project, read here.
Opinions expressed in this article are those of the guest author and not necessarily Search Engine Land. Staff authors are listed here.
Related stories
New on Search Engine Land
About the author